
Lesson access settings give you a few options for when you want your lessons to become available. You can also choose certain lessons to offer for free, as sample lessons. And perhaps most importantly, this is where you assign a lesson to a specific course. Let’s take a look at the options.
Table of Contents
Locating Lesson Access Settings
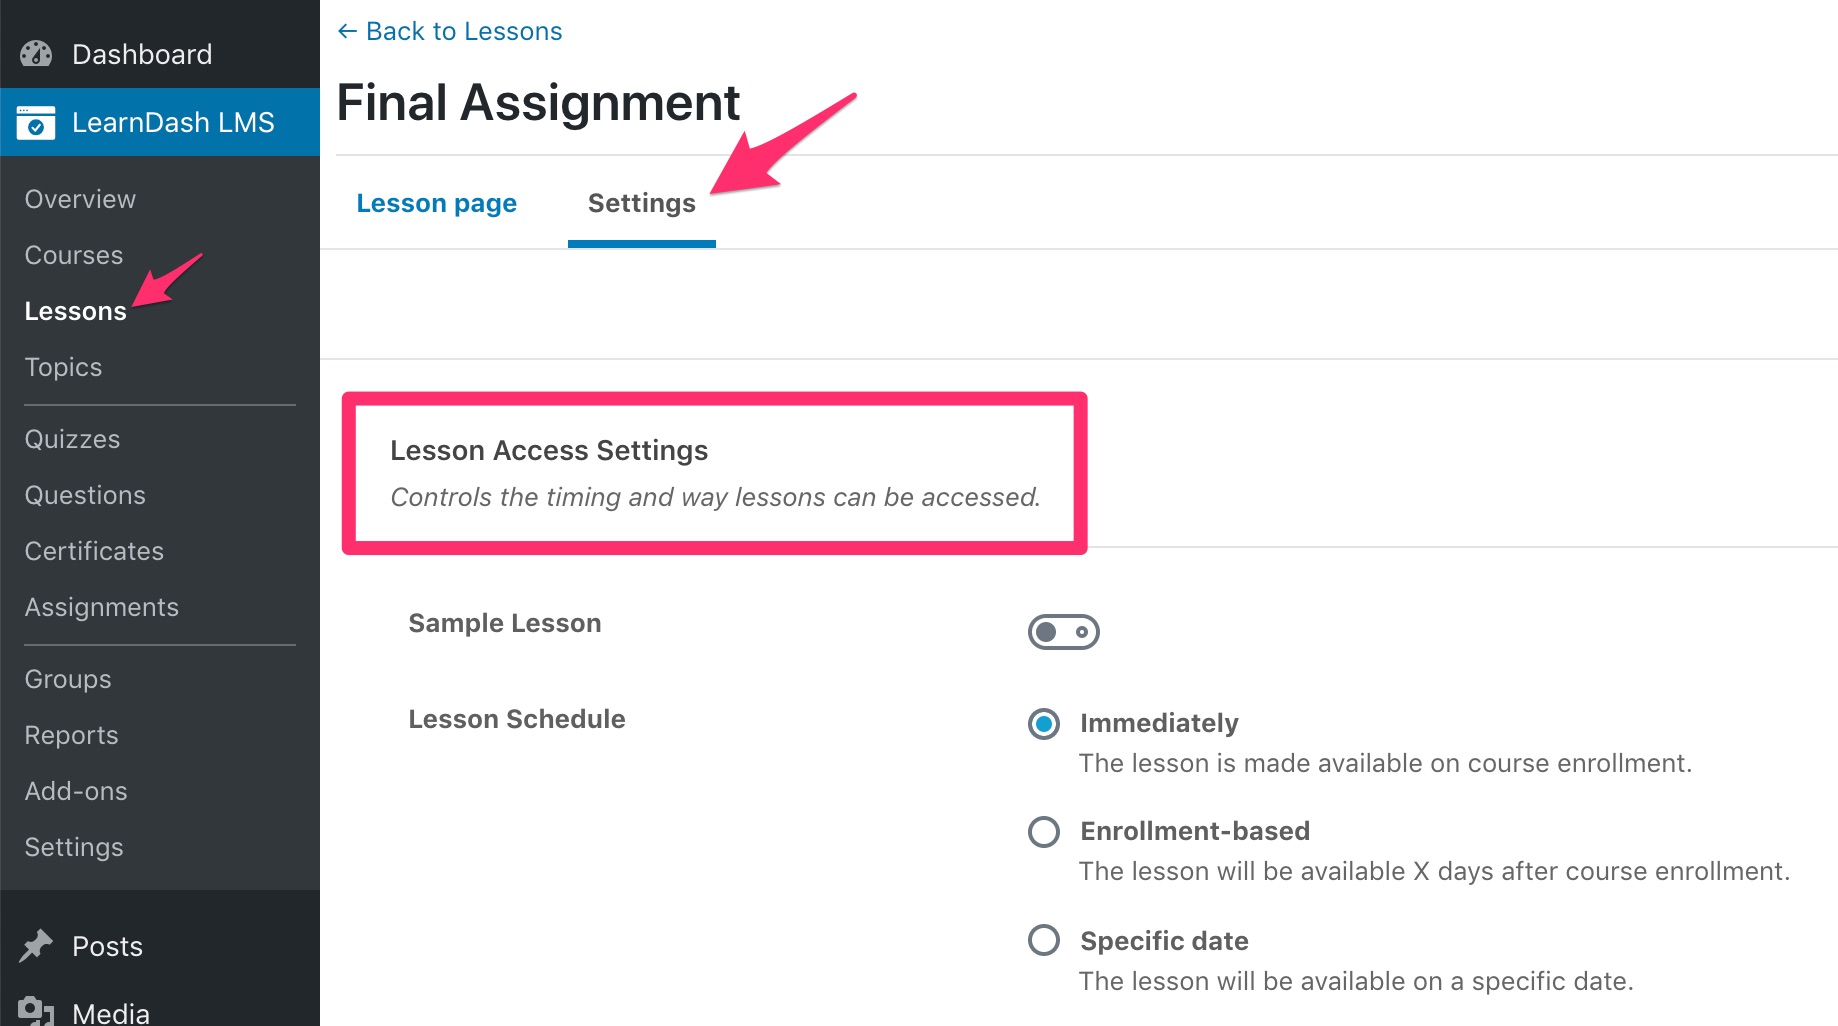
- Navigate to LEARNDASH LMS > LESSONS
- Click on the lesson you want to edit
- Click on the Settings tab at the top of the page
- Locate the section titled “Lesson Access Settings”
Associated Course
In order for a lesson to show up within your course content, you need to associate it with a course. This setting is how you do that.
- Next to Associated Course, click the dropdown menu, and choose the course to which this lesson belongs
NOTE
If you’ve enabled shared course steps, this field will be disabled, as lessons can be associated with more than one course.
Sample Lesson
You can turn any lesson into a sample lesson, which will make it available to all users, regardless of whether or not they’re enrolled in the course. This is a great way to showcase your teaching style, or entice someone to enroll in or purchase your course.
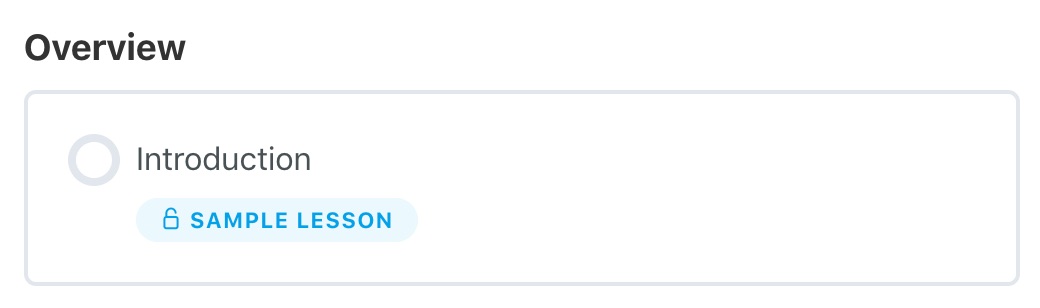
- Next to Sample Lesson, turn the setting on
Here is what your visitors will see:
NOTE
See the Sample Lessons User Guide for more information and examples.
Lesson Schedule
The lesson schedule allows you to make a lesson available at a specific time. A lesson can become available immediately, or at some point in the future. You have the following options:
- Immediately (default)
The lesson is made available as soon as the user is enrolled in the course - Enrollment-based
The lesson will be availableXdays after the user enrolls in the courseNOTE
If you set “1 Day”, it means 24 hours, not the next day at midnight. Similarly, 2 days is 48 hours, and so on. - Specific date
The lesson will be available on a specific date
These options also applies to the topics below these lessons. If a topic is associated with a lesson and that lesson is scheduled to be available at a certain date, the topics will also be available at that time. If a topic is not associated with that lesson, you can set the Topic Release Schedule for that topic separately.
Blended Learning
The External Lesson option is applicable when you offer Blended Learning. It is when you teach an online-based curriculum but have a requirement (from either the government or for regulatory reasons) for an in-person exam or classroom-based learning.
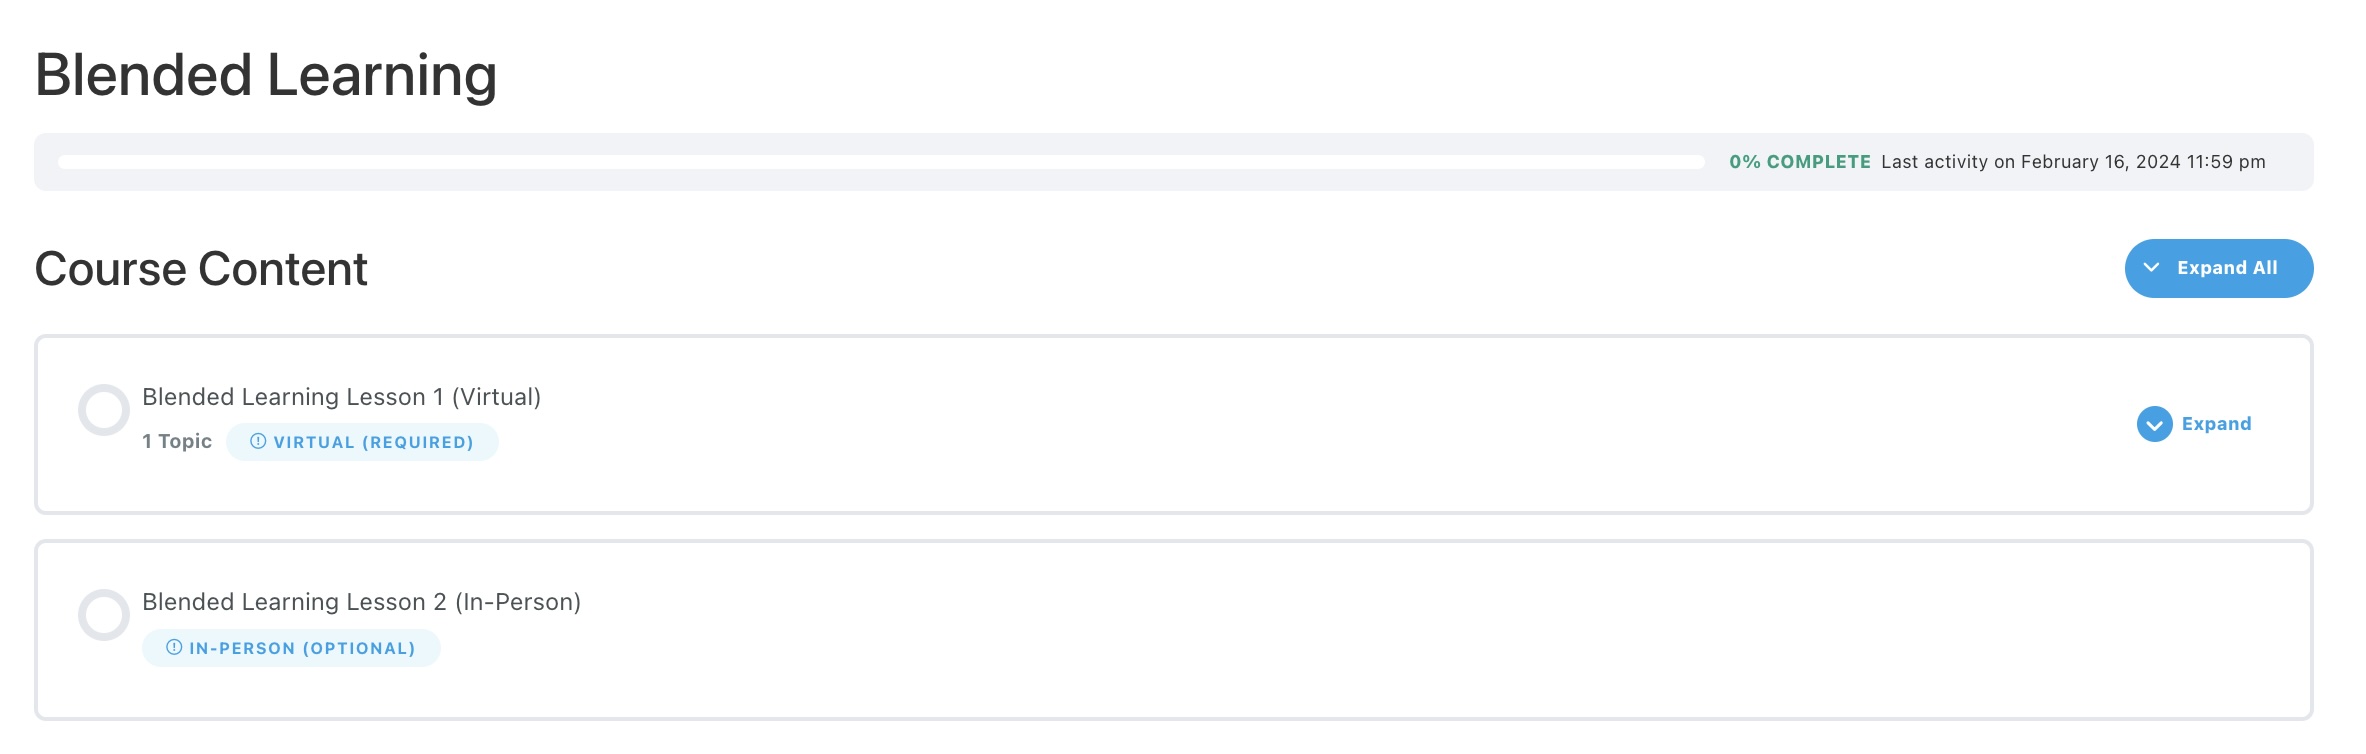
Enabling this option gives you the following:
- Ability to mark a lesson as Virtual or In-Person
- Ability to bypass the attendance requirement of a lesson, either Virtual or In-Person
- Ability to mark a student as “attended” in their user profile by an admin or a group leader
How To Use This Feature?
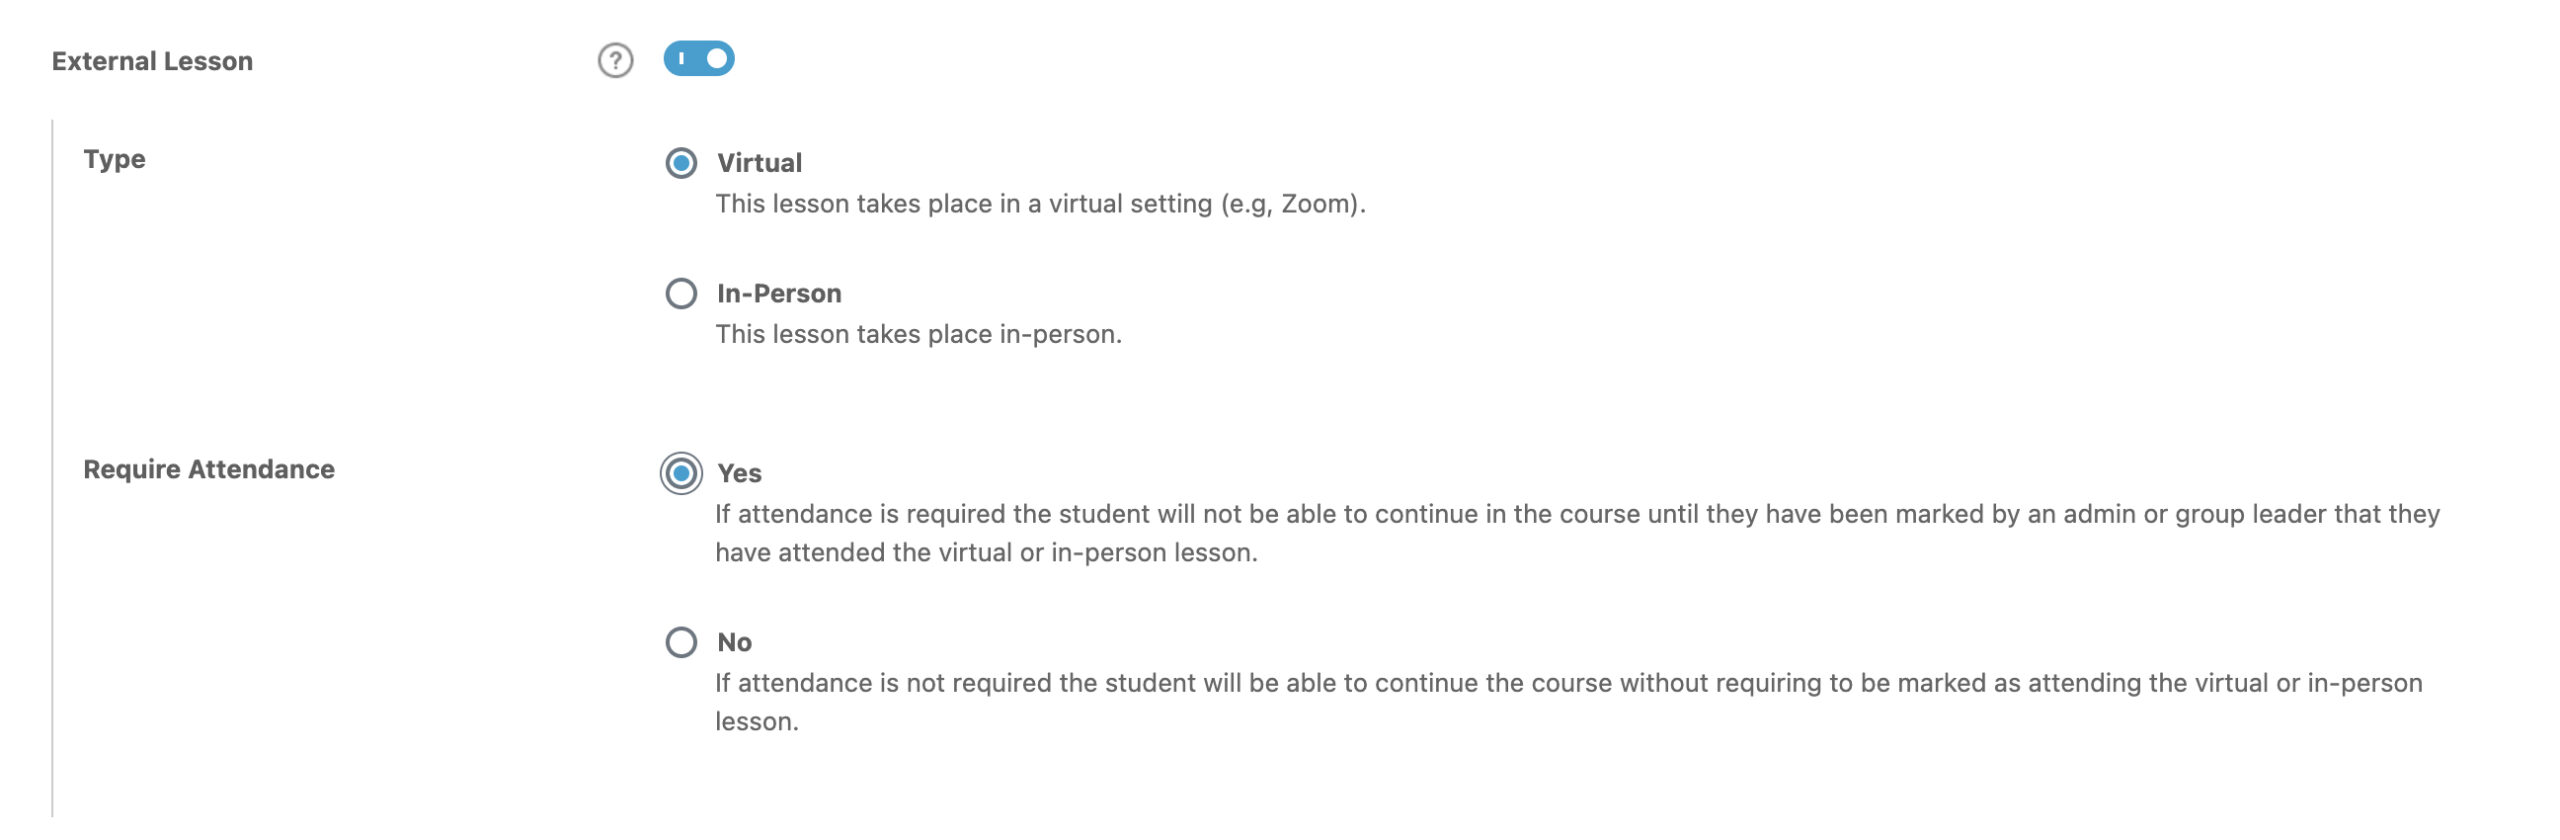
- In the lesson settings page, toggle the External Lesson switch to ON.
- Under Type, select Virtual if the lesson takes place in a virtual setting, e.g., Zoom or In-Person if the lesson takes place in-person.
- Under Require Attendance, select Yes if attendance is required or No if it is not required.
- When set to Yes, the student cannot continue to the next course step (applies to Linear Course Progression) unless an admin or a group leader has marked them that they have attended the virtual or in-person lesson. The Mark Complete button will not be available on the lesson page. The admin or group leader must mark the lesson as complete from the User Profile page in the backend.
- When set to No, attendance is not required to be able to continue on the course. The Skip Event button is available for the student to click to proceed to the next step of the course. This is equivalent to the Mark Complete button.