The emails tab lets you customize your various LearnDash emails without a need for a third-party plugin. You can enable or disable certain emails, change their content and update the “From” name and email from this Tab.
Email Notifications #

On this screen, you can enable or disable certain email notifications that are sent from your site. There are three different email notifications that are available:
- Course Purchase Success – an email notification sent to the customer after a successful course purchase
- Group Purchase Success – an email notification sent to the customer after a successful group purchase
- New User Registration – formerly required notification that is sent to the customer after successful registration to the site. Check out our Registration Tab to find out how to manage your user registration options to allow for a more seamless registration.
Click on Manage in order to edit/update each of the above notifications. You will then be presented with the following options:
- Active – toggle whether or not the certain email notification is active
- Recipient(s) – non-changeable option indicating the recipients of such email
- Subject – field to input the subject line of the email
- Message – field to input the actual email message to the customer. You have the option to add media or use the following placeholders, whose content will change depending on the site:
{user_login}– User Login{first_name}– User first name{last_name}– User last name{display_name}– User display name{user_email}– User email{post_title}– Course Title{post_url}– Course URL{site_title}– Site Title{site_url}– Site URL
- Content Type – select whether to send the email as an HTML/Text email or Text only without rich text formatting.
Purchase Invoice #
This new category of email notifications allows you to send purchase invoices to your users after purchasing a course or a group. This allows them to have some sort of receipt or invoice for their purchases.

In order to activate and properly format the invoice, you must set up a couple of settings first.
- Navigate to LearnDash LMS > Settings
- Click on the Emails tab
- Enable Purchase Invoice
- Click Manage
From here, you have to set a couple of different options:
- Active – select whether or not the notification is active.
- Recipient(s) – you cant change this option, it will always be set to customer who are the ones to receive the email
- Subject – enter the subject line of the email that you want to send
- Message – field to input the actual email message to the customer. You have the option to add media or use the following placeholders, whose content will change depending on the site:
{user_login}– User Login{first_name}– User first name{last_name}– User last name{display_name}– User display name{user_email}– User email{post_title}– Course/Group Title
- Customer Name – field to input what name you want to customer to be addressed with, it can either be their first name, last name, username, or display name. You can use the following placeholders:
{user_login}– User Login{first_name}– User first name{last_name}– User last name{display_name}– User display name
- VAT/Tax Number – field to input the VAT/Tax number
- Company Name – field to input your company name
- Company Address – field to input your company address
- Logo Upload – you may upload your company logo to be included in the invoice email
- Logo Location – you may choose to put your company logo either on the left or right side of the invoice email.
- Content Type – select whether to send the email as an HTML/Text email or Text only without rich text formatting
Once all these options are filled up and the notification is enabled, your customers will start receiving a purchase invoice email after every successful purchase.
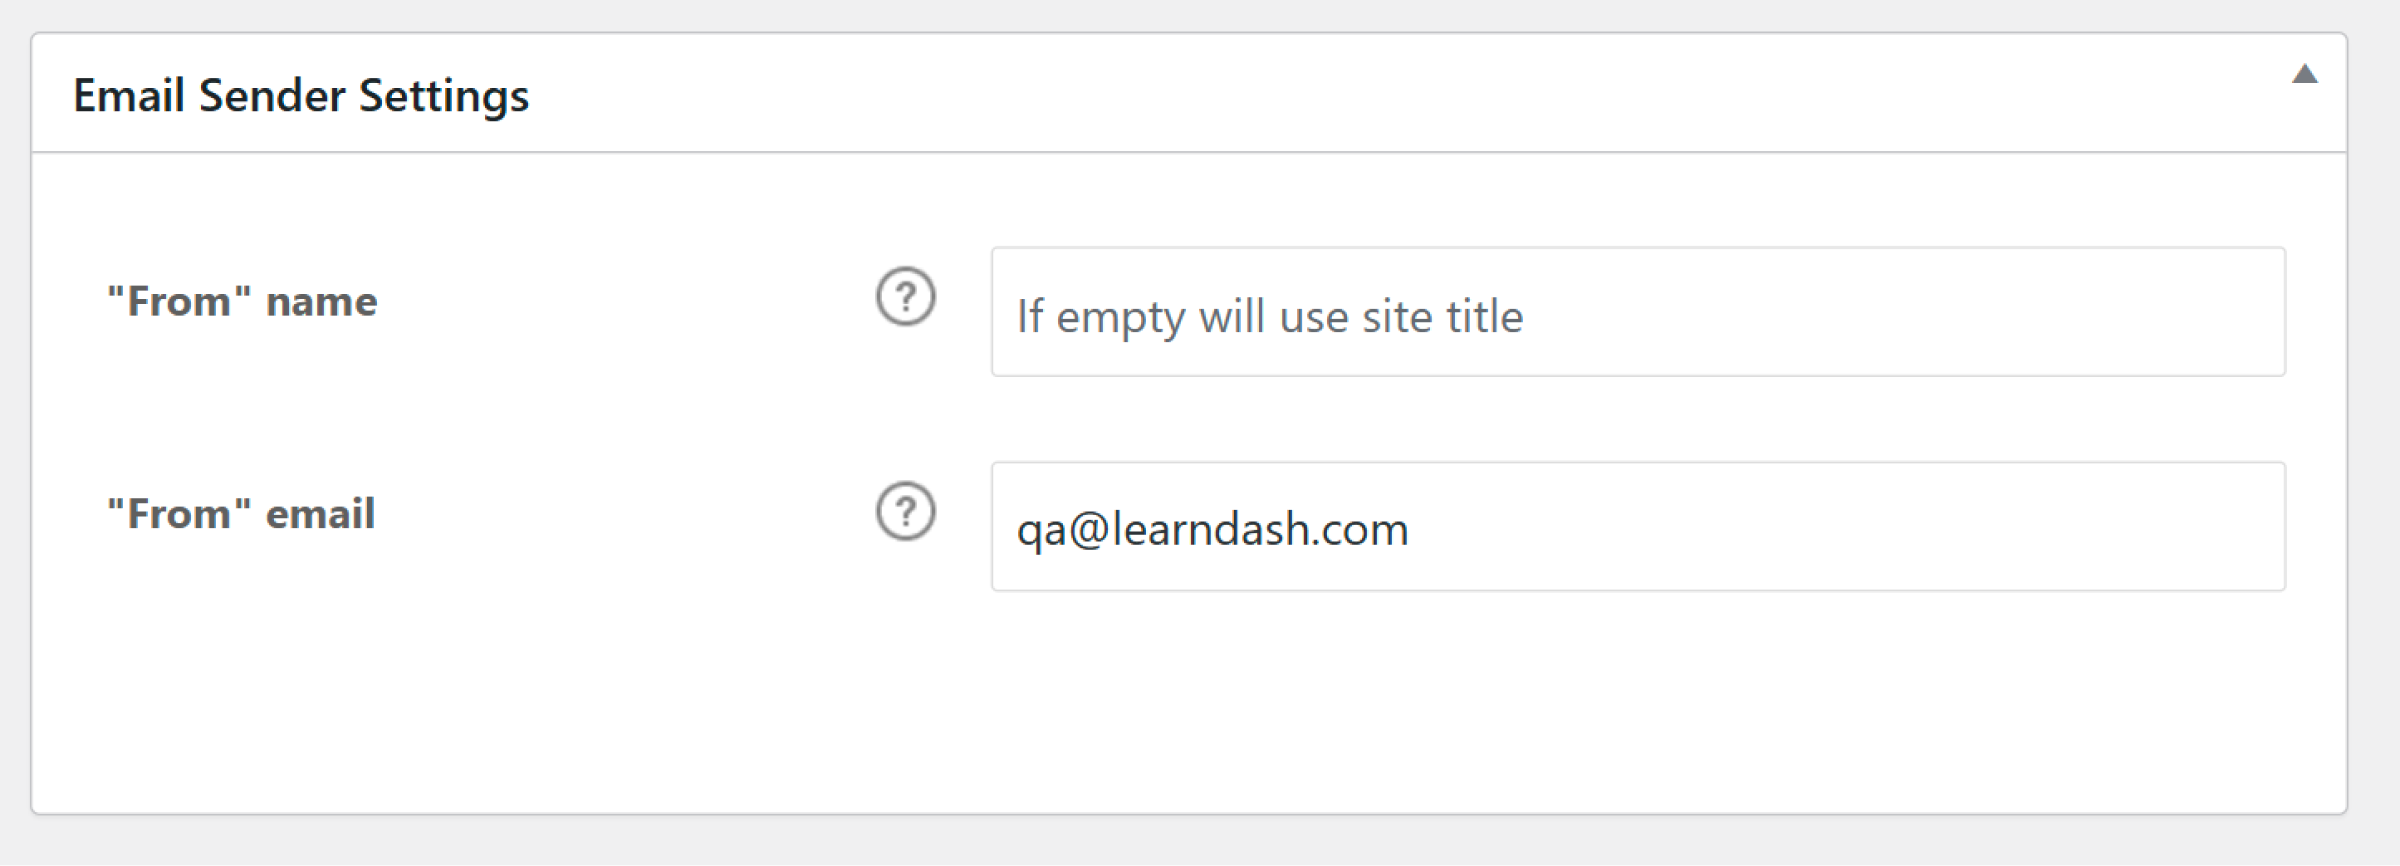
Email Sender Settings #
This section allows you to update the “From” name and email of the above email notifications. If you leave these empty, the emails will be sent using the default site administration email and site title.
Hit “Save” when you’re finished making the changes.