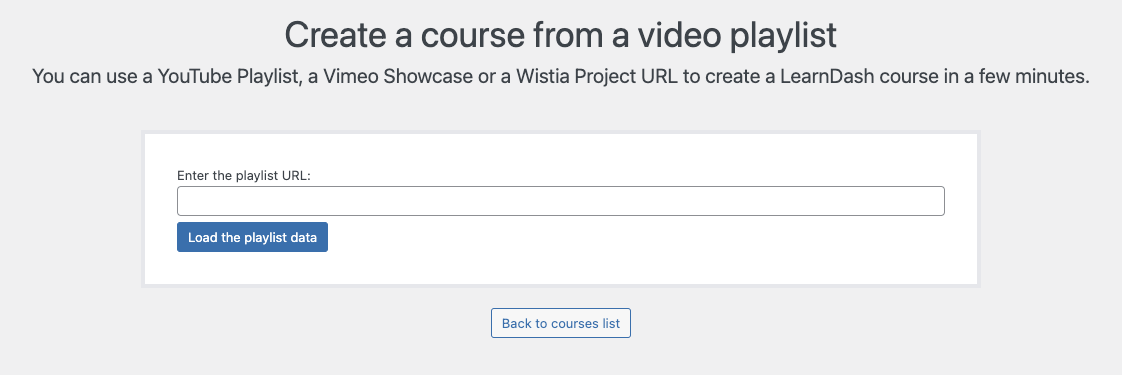
The Course Create Wizard allows you to easily create and publish courses using a YouTube Playlist, a Vimeo Showcase, or a Wistia Project URL.
Simply by entering the playlists URL, the wizard automatically loads all the data that is needed and creates the course with lessons corresponding to the individual videos in the playlist.
Table of Contents
Using the Course Create Wizard
To use the Course Create Wizard:
- Navigate to LEARNDASH LMS > Courses
- Click on the Create from Video Playlist button at the top right

- Enter the playlist URL, this can either be:
-
- a YouTube Playlist URL
- a Vimeo Showcase
- a Wistia Project URL
NOTE
Make sure you enter the actual playlist URL not the individual video URLs. -
- Click the Load the playlist data button
From here, you will be presented with options on the course access settings and the course progression.
Course Access Settings
Once you’re done loading the playlist, you will then be presented with the course access settings. You can select the one that you want to be applied to the course:
- Open – the course is not protected. Any user can access its content without the need to be logged-in or enrolled.
- Free – the course is protected. Registration and enrollment are required in order to access the content.
- Buy Now – the course is protected via the LearnDash built-in PayPal and/or Stripe. Users need to purchase the course with a one-time fee in order to gain access. If this option is selected, you must have the payment platform set up, and you must enter the price of the course.
- Recurring – the course is protected via the LearnDash built-in PayPal and/or Stripe. Users need to purchase the course with a recurring fee in order to gain access. If this option is selected, you must have the payment platform set up, and you must enter the price of the course.
- Closed – the course can only be accessed through admin enrollment (manual), group enrollment, or integration (shopping cart or membership) enrollment.
NOTE
For Buy Now and Recurring, you must have a payment platform set up (either Stripe or Paypal). Check out our payments documentation to learn more.
Course Progression
Course progression refers to how a user can navigate through your course. As the course creator, it’s up to you how you want to let your users navigate through your course. You have two options:
- Linear – requires the user to progress through course steps in the order in which you’ve laid them out. They cannot jump around and skip lessons, topics or quizzes. Ex: A user must finish the first lesson before they can take the second one.
NOTE
Linear Progression does not apply if the Course Access mode is set to “Open”.
NOTE
If the Linear Progression option is selected, the user must click on “Mark Complete” on each lesson in order to proceed to the next course.
- Free Form – allows the user to move freely through the course without following the course steps in any particular order. Ex: A user may take the tenth lesson before completing the first one.
Once you’re done setting the Course Access settings and Course Progression, click on “Create the Course” to create your courses and lessons. Take note that the course and lessons will be automatically set to “Published” status.
Once the course is created, you’ll be taken back to the Courses page. From here, you can edit and update the courses and lessons that you created.
Each lesson that is created from the course will contain the specific video and a transcript of the video lesson. You can set and update the content of each lesson as you please.


