Table of Contents
Global Groups Plus Settings
The Groups Plus settings screen allows you to set some global options that will apply to all Organizations on your site. We organized Groups Plus settings into a few sections, outlined below.
To access your global Groups Plus settings:
- Navigate to LearnDash LMS > Groups Plus
- Click the Settings tab
Communication
Enable team message board – This enables the Team Leaders to communicate with only their Team Members via a message board.
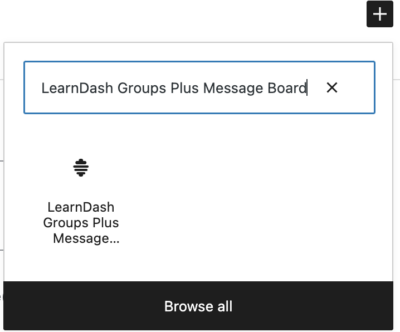
Once enabled, you can add the LearnDash Groups Plus Message Board Block to any page. This block is where the Team members will see the messages their Team Leader posts.

Or use the shortcode:
[learndash_groups_plus_message_board]
Tip: Consider adding the LearnDash Groups Plus Message Board Block or shortcode to the User Profile page. Adding the block will keep all the Team members’ (Users’) important information on one page.
NOTE:
The message board is not a two-way communication tool. Instead, it is an on-screen message broadcast tool.
Users
Team Leaders use Seats – Enabling this feature will allow you to set the number of Team Leaders allowed who will not count against the total number of seats available within each Organization.
NOTE: This feature will only work for private Organizations not used in WooCommerce. If you are using WooCommerce, you cannot set the Seat amount for Team Leaders or Team Members.
Lock Team Leaders’ and Team members’ Names – This restricts Team Leaders and Team Members from being able to change their names on the front end.
Allow existing users to be updated – Enabling this feature allows existing users’ information to be updated whenever importing users’ data.
Allow Team members to have certificate access – This will allow users to view/download/print their certificate. If not enabled, the Team Leader can provide the certificates.
Show all quiz attempts in detailed Team member report – Enable this to show all quiz attempts.
Allow all Organizers to see all users – Allow the Organizer to see all users that are “subscribers” in the platform when selecting “User already exists’.”
WooCommerce
The WooCommerce settings will only appear once you have installed the WooCommerce plugin. You will also need the LearnDash WooCommerce Integration Add-on installed for this feature to work.
Enable WooCommerce Integration – Check this box if you are using WooCommerce to sell your Organizations.
NOTE: You must enable the WooCommerce Integration feature and click Save before the additional WooCommerce settings appear.
Enable Add Seats to Teams – Enable this setting to sell additional seats to an existing Team (within an Organization or outside an Organization).
Enable Team Leader to add subscription-based seats to teams – Allows Team Leaders to add subscription-based seats to their Team (WooCommerce Subscription Products are required).
Upgrade LearnDash Groups to Organizations
Convert LearnDash Groups to Organizations and Teams – Check this box and click the “Convert” button to convert all your Top-Level Groups into Organizations. Groups converted to Organizations will now have a child team within the Organization of the same name. Group Leader(s), Course(s), and Team Members from the old top-level Group are now in the new Team. As a result, the Organization will no longer have members in its primary Group. Converting LearnDash Groups to Organizations is a global change.
Downgrade Organization to Normal Group
Downgrade Organization to Normal Group – Check this box and click the “Downgrade” button below to convert your Organization back to the normal Groups, and return their parent groups to normal LearnDash groups.
Global Email
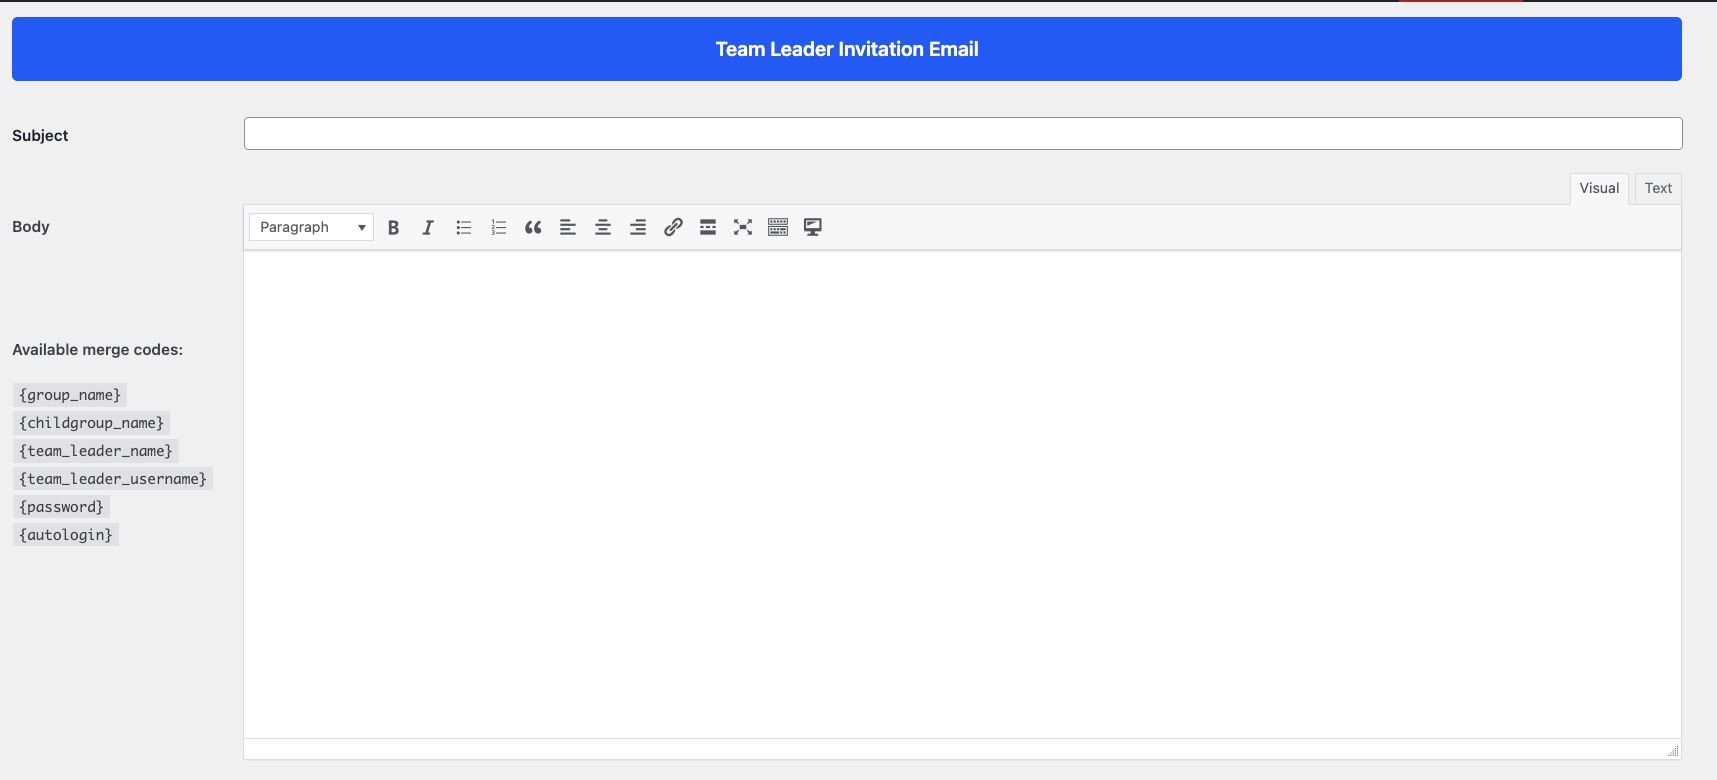
This add-on also allows you to customize the email invitations sent to Team Leaders and Members. For example, you can configure the global team leader and team member welcome emails from here. Configuring these global emails will make them the default email for all team members and team leaders invitations. However, these emails will be overridden by Team Leader and Team Member Welcome emails if each Organization or Team creates its emails from the below organization panel, as shown below.
For both Team Leader and Team Member invitation emails, all you need to do is:
- Add the subject line
- Compose the body of the email; you can use the merge codes available to personalize the email that you will be sending:
{group_name}
{childgroup_name}
{team_leader_name}
{team_leader_username}
{password}
{autologin}
Beyond the custom email merge codes we provide below, you can use the LearnDash shortcodes found using the toolbar icon.
