
In MemberDash > Memberships, click on Add New Membership
This will take you to the Create New Membership screen
You can choose from Standard, Dripped, Guest and Default Membership.
The most popular membership type is Standard Membership – where all content is available as soon as the user registers.
Next, choose a name for your Membership. It’s best to choose a name you intend to keep, as changing after users have signed up can create payment issues.
If you are creating a public membership, tick the Allow users to register for the membership box. This adds the Membership to the Registration page without additional steps on your part.
If you are creating a private membership, leave that box unticked.
If you intend to charge for the Membership, tick the This is a paid membership box then click Save and Continue.

You will then be directed to the Payment screen, where you can set your individual Membership Payment Settings, in addition to editing your Global Payment Settings should you need to change them.

For paid memberships, there are four different Payment Types to choose from:
- Recurring Payments (Payments that recur at set intervals)
- One Payment for Permanent Access
- One Payment for Finite Access (Limited to a set period of your choosing)
- One Payment for Date Range Access (Limited to specified dates only)
This tutorial illustrates a Recurring Payment Membership.
Once you have selected Recurring Payments from the dropdown menu, complete the following steps:
- Set a Payment Amount
- Choose the Payment Frequency (days, months, years)
- Decide on the Total Payments (leave at 0 for unlimited)
- Select where the Member should be assigned if their Membership expires or is cancelled
- OPTIONAL: Create a Free Trial
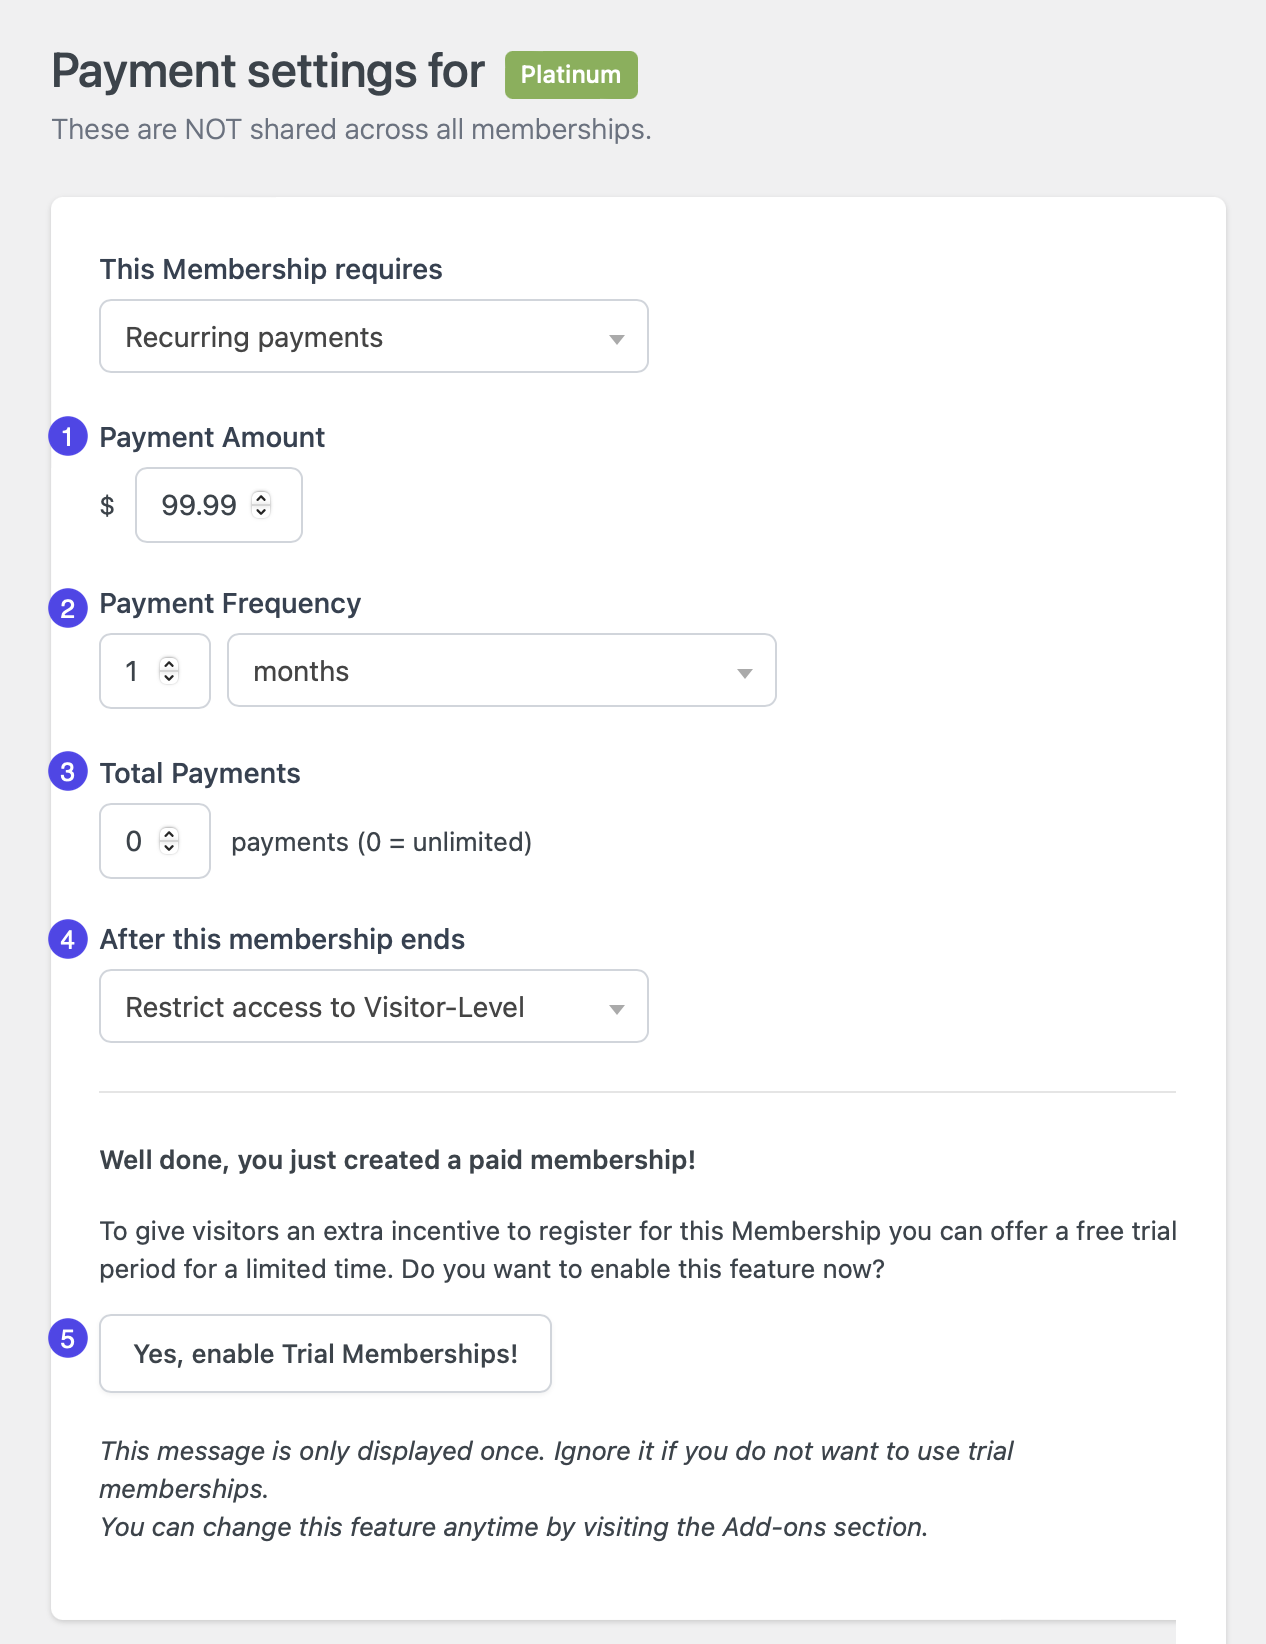
If you enable Trial Memberships, further on-screen dialogue appears allowing you to toggle the Free Trial on or off for the specific Membership, and select the Trial duration.

Last but not least, it’s important to select your Payment Gateway. Any Gateways that have been configured can be selected as an option, and you can also configure a Payment Gateway from this screen.
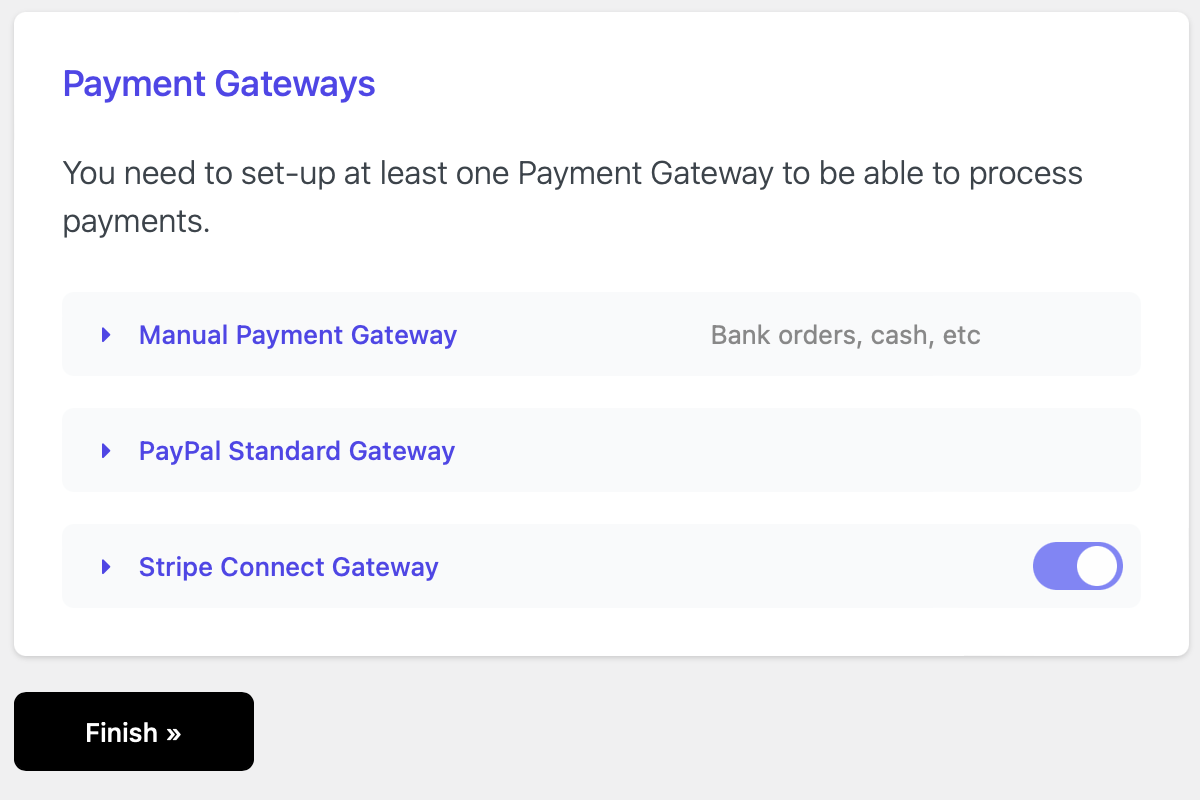
Once you are done, click Finish, and you’ll be returned to the Memberships List screen.