
Stripe
To get your site connected to Stripe so you can collect payments for your memberships, hover over MemberDash on the left-hand side of the WordPress dashboard and click on Settings.
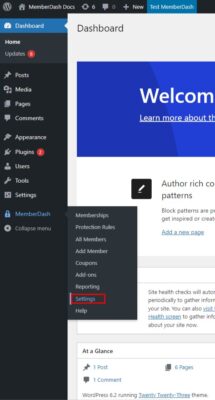
Then click on the Payment tab.
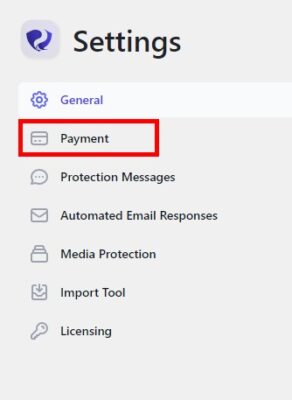
Scroll down and click on Stripe Payment Gateway to open up the Stripe settings.
To connect Stripe to your website, simply click on the Connect Stripe button, and follow the prompts to login to your Stripe account. (if you don’t have a Stripe account setup yet, click here)
If you have multiple accounts within your main Stripe account, you will be asked to select the one you want to use for this website.
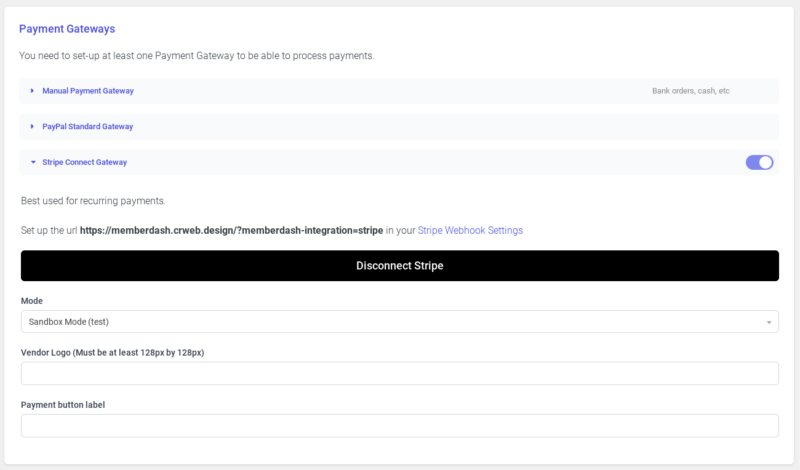
Once you’ve done that you’ll be redirected back to your website, and the button should change to say “Disconnect Stripe”.
If you want to do some tests, you can make sure to choose Sandbox Mode (test) from the Mode drop down. Once you’re satisfied with the testing, you can come back to this page and choose Live Site
Adding the webhook in Stripe
Once you’ve successfully connected Stripe using the Connect Stripe button you’ll need to copy the webhook URL to your clipboard (located right above the Disconnect Stripe button) and head on over to the webooks section of your Stripe dashboard. (for a quick shortcut, click this link https://dashboard.stripe.com/account/webhooks).
From here you’ll want to click the button that says Add an Endpoint.
In the Endpoint URL field, paste in the webhook that you copied earlier.
Click the Select Events button.
Choose Select all events.
Click the Add events button.
Scroll all the way down and click the Add endpoint button.