Video progression is a way to require users to watch the entirety of a video before they can mark content as complete. It can be used for both lessons & topics, and works the same way for both. By default, the video will appear above your page content, but you can place it manually on the page using the [ld_video] shortcode.
This guide will walk you through the settings of video progression and explain how it works.
How to Enable It #
- Navigate to a lesson or topic edit screen in the admin
- Video progression is found on the Settings tab, underDisplay & Content Options
- Toggle the switch to turn it on
- Configure your settings (which we’ll discuss below)
Supported Video Providers #
The video progression feature supports the following video providers:
- Vimeo (
vimeo.com)
NOTE: Vimeo will not allow the creation of a course if the Showcase isnt set to Anyone – or if ANY video included in that Showcase isnt also listed as public. In other words, if theres any part of the content or Showcase that isnt public, Vimeo wont allow LearnDash to create a course. - YouTube (
youtu.beoryoutube.com) - Wistia (
wistia.com)
NOTE:Learn how to embed Wistia Videos to WordPress here. - Bunny.net
- Spotlightr (
spotlightr.com)
NOTE:formerly VooPlayer - Presto Player
NOTE:Requires the Presto Player plugin. You can check their integration instructions here. role=”button”
- Amazon S3
- Local videos (uploaded to the WordPress Media Library)
Video URL #
Enter the URL of the video you’d like to use for video progression. The Video URL field accepts the following formats:
- Video Watch URL
ex:https://www.youtube.com/watch?v=hcSTaMhZi64
ex:https://vimeo.com/115119775
ex:https://yoursite.com/wp-content/uploads/2019/06/video-name.mp4 <iframe>embed code[video]or[embed]shortcode
See the Shortcodes & Blocks article for more details on using[video]
Display Timing #
This setting determines when your video will be shown to the user, and how to handle sub-steps associated with the lesson/topic.
- Before completed sub-steps (default)
The video will be shown immediately, and must be fully watched before the user can access any of the lesson/topic’s associated sub-steps (topics and/or quizzes). - After completing sub-steps
The video will initially be hidden. It will become visible after the user has completed the lesson/topic’s associated sub-steps (topics and/or quizzes). The entire video must be watched in order to complete the lesson/topic.
The next 3 options only appear if you’ve chosen “After completing sub-steps.”
IMPORTANT Video progression logic (i.e. auto-completion, completion delay and disabling mark complete button) will not be applied if you are logged in as Administrator and the Bypass Course Limits option is active. This also doesn’t apply if the course is set to “Open”.
Lesson/Topic Auto-completion #
Enabling this option will automatically mark the lesson/topic complete once the user has watched the entire video.
Completion Delay #
This refers to the delay (in seconds) between when the video is finished and when the lesson/topic is marked complete.
- Default is no delay (
0seconds)
Mark Complete Button #
By default, the “Mark Complete” button will be hidden, but this setting allows you to display it.
- Simply enable this setting to show the “Mark Complete” button
Autostart #
Enable this setting to have the video automatically start playing on page load.
Due to browser policies to prevent unwanted ads from playing automatically, videos with autoplay or autostart enabled will play with the volume muted. Since this is now the default behavior for most browsers, make sure that the controls are enabled on your video so that your users will be able to unmute them.
If controls are hidden, including the pause/play button, autoplay must be enabled for the users to be able to watch the video. Depending on the video host, the volume controls may still work with keyboard shortcuts (common ones are the “M” key, the “+” or “-” keys, or the up and down arrow keys). Check out this help article from Youtube on their player’s keyboard shortcuts.
On the browser’s end, there may be different ways around it depending on the browsers that your users are using. Here are a couple of resources that you can check for Firefox and Safari. Although there are no known solutions to go around this for Chrome users, here’s the official documentation for the policy change from Google, in case you want to read more about it.
NOTE It is still possible for the user’s default browser settings to override this feature and prevent autoplay completely, whether muted or not.
Video Controls Display #
By default, video controls are hidden from the user if the autostart option is enabled. Video controls include play, pause, volume, closed captions, and other settings found at the bottom of a video.
Enabling Video Controls Display will show all of these controls to the user, and allow them to have more control over the video.

NOTE: This feature is only available for YouTube, and locally hosted videos. For Vimeo videos, the video controls will be displayed if autostart is enabled for the Vimeo video within your LearnDash settings.
Video Pause on Window Unfocused #
Enable this setting to automatically pause the video if a user switches to a different window.
Video Resume #
Enable this setting to allow users to resume the video to their last position even after the window has reloaded, or if they moved away from this page. This setting uses browser cookies so make sure they are enabled for this site for this option to work.
Using Wistia #
Using Wistia, follow the steps below to get the oEmbed URL to use in the Video Progression of your LearnDash site.
- Log in to your Wistia account
- Go to the video page that you would like to embed
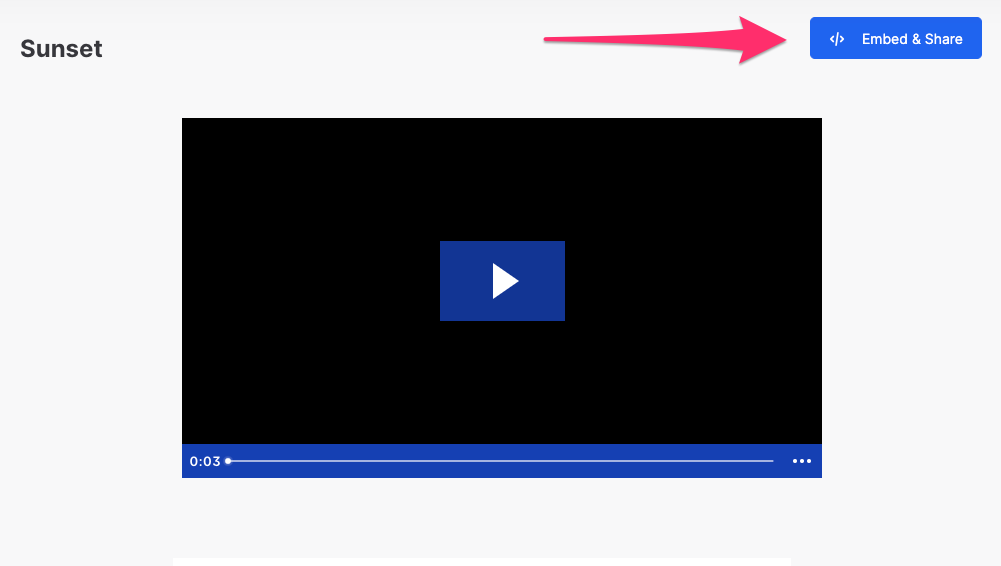
- Click on the Embed & Share button
- Under “Share Link”, click on the Embed link in the blue area

- Select the “Inline Embed” tab, scroll down, and expand the Advanced Settings dropdown
- Select “Fallback” and check the box that says Use oEmbed URL

- Then either click “Show Embed Code” and copy the code in the textarea or click on the blue “Copy Code” button
- Paste that link on your LearnDash site, under the Video Progression URL
This method also work for simply embedding the videos anywhere on your LearnDash WordPress site. You can learn more about embedding Wistia videos to WordPress here.
NOTE Video Controls don’t display when using Wistia.
Using Bunny.net #
LearnDash requires the use of the HLS Playlist URL from your Bunny.net video card in order to function properly. The iFrame Embed code is not supported at this time. Follow these steps to retrieve the HLS Playlist URL:
Prerequisites #
- Login to your Bunny.net account at https://dash.bunny.net/auth/login.
- Create a new Video Library if you dont already have one. Otherwise, select your Video Library.
- On the Encoding tab, toggle on the Enable MP4 Fallback option.
- Upload your video or videos to your Video Library.
Note: The video resolution must be 720p or higher. Lesser resolutions are not supported.
Finding the HLS Playlist URL #
- Click on your video in your Video Library to open its video card.
- Click the Copy button next to the HLS Playback URL.
Other Video Options #
Because LearnDash is built on WordPress, there are other ways to display videos to your users. You don’t have to use video progression in order to use videos for your course. You won’t have all the same options as the video progression feature provides, but you can use any method you’d like, including:
- embed any type of video anywhere within your lesson or topic page content
- use third-party WordPress plugins for displaying video and/or playlists. One great example of such plugin is Presto Player. You can check on their documentation specific to LearnDash here
- use H5P, Adobe Captivate or any other platform to create/embed video content