
With LearnDash, you don’t have to worry about starting from scratch when building your website. We have the Design Wizard ready and available to help you kick start your LearnDash Site.
NOTE
The design wizard is now available to both LearnDash Cloud users and LearnDash Plugin users. The steps for setting it up is the same for both types of LearnDash install.
The Design Wizard
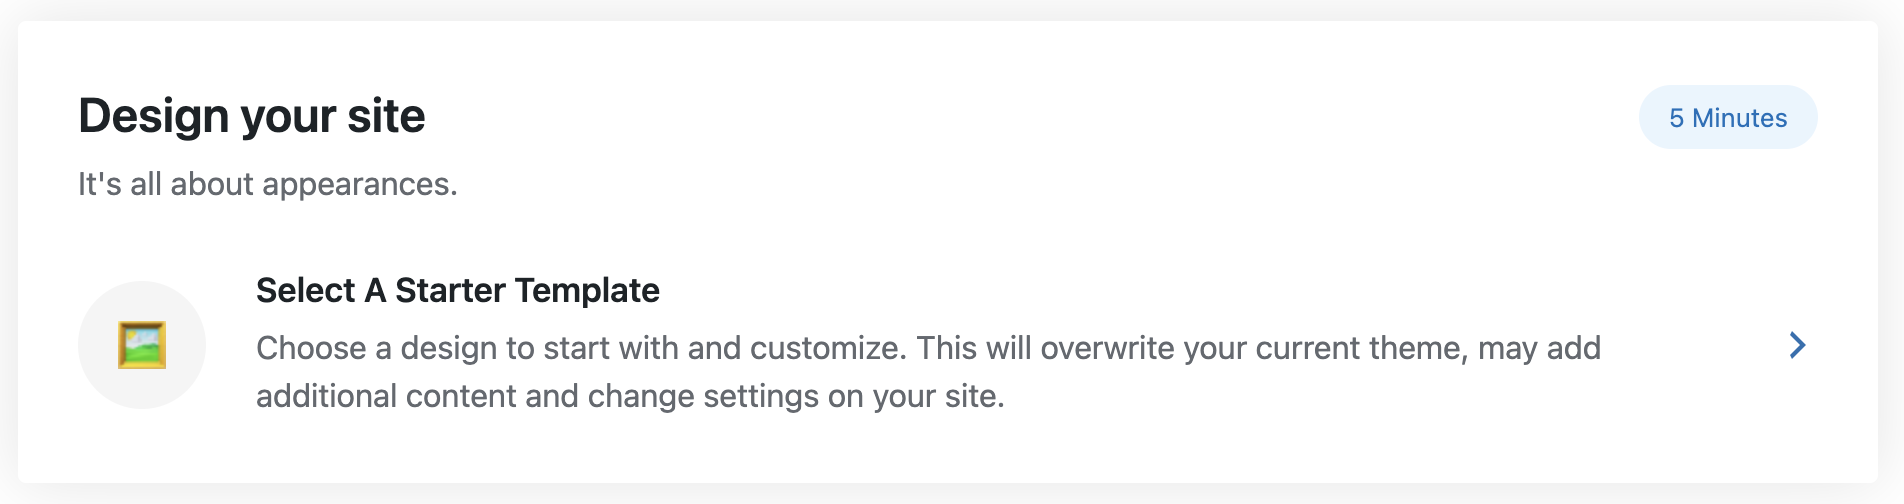
After you’ve purchased and built the site, you’ll go through the initial setup wizard to set up how you want your LearnDash site to function. After that, you’ll be taken directly to the “Set Up” tab, where you can see the design wizard.
NOTE
Please note that this process will impact your whole site, this will overwrite your current theme and may add additional content and affect settings on your site.
To get started with that, simply click on the arrow next to it.
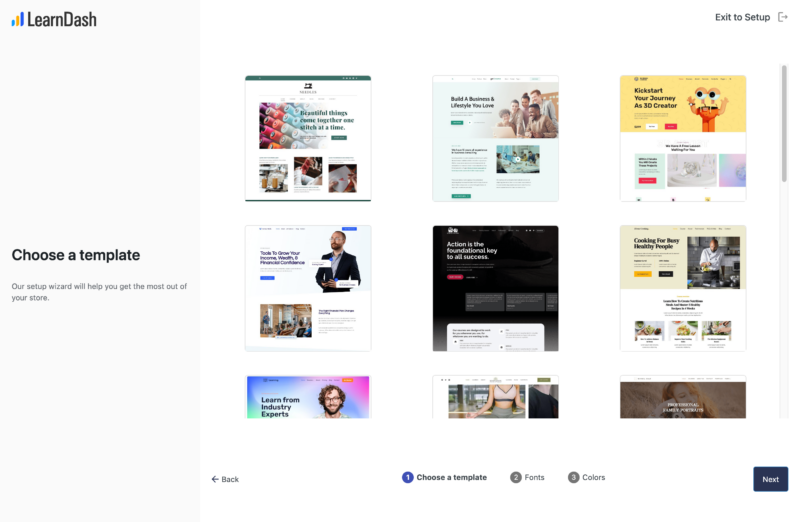
- The first step is to let you kick-start your website with some pre-made templates that are available for free. You can hover over the options to preview them and see how they look, full page. You can even browse the different pages on the preview to see how they look. Select one from the options and hit “Next”.
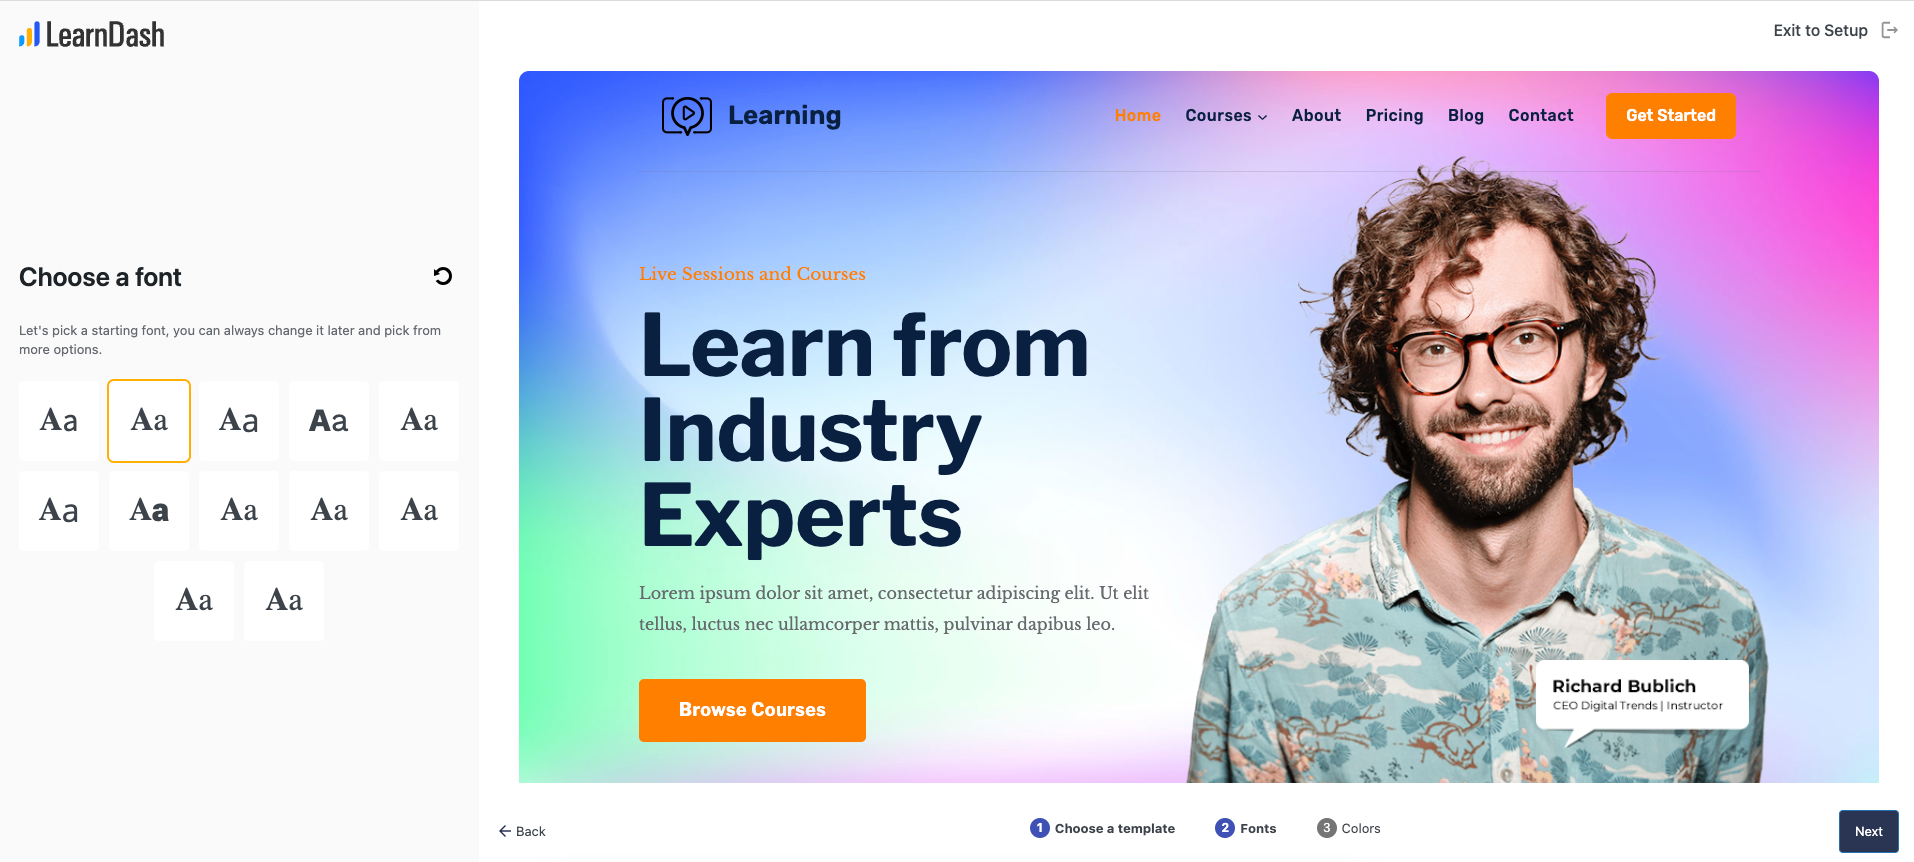
- The next step is to choose a font for your website. You can select from different font options provided, and click the restore button to reset the styles. You can also see these changes in real time on the preview window. Once you’re done picking the fonts, click “Next”.
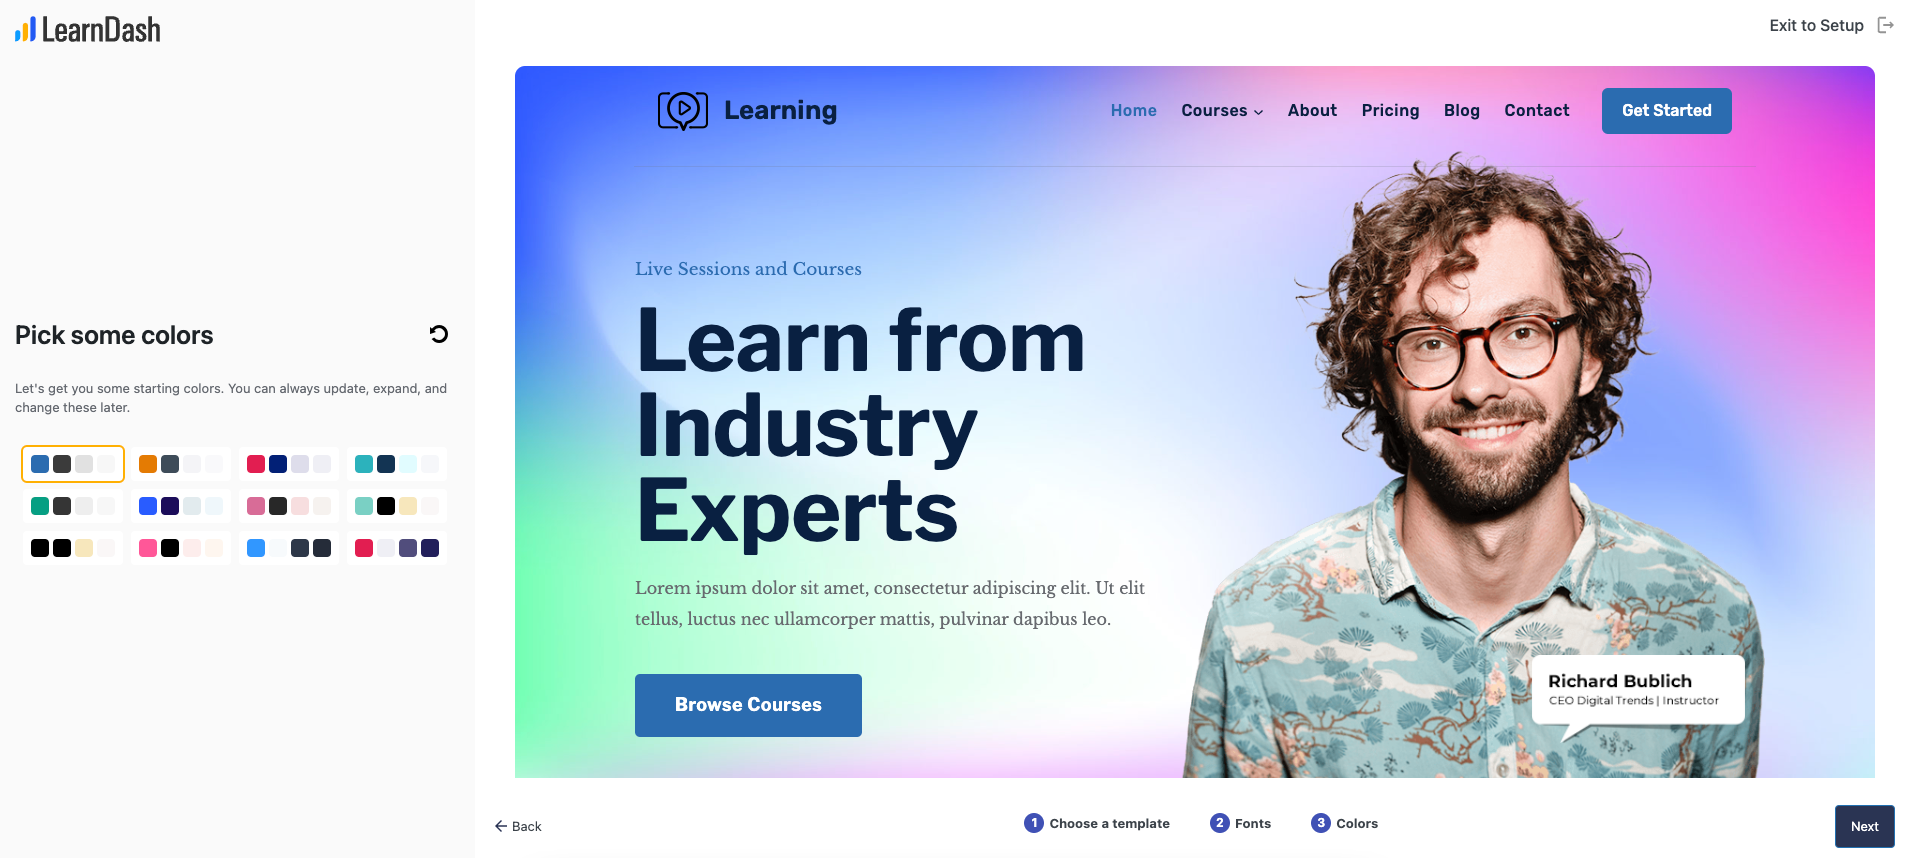
- Finally, you will be presented with a set of color palettes for you to choose from. This will affect the buttons, links, and even the background color of the page. Click the restore button on the top right to reset the styles. You can also see these changes in real time on the preview window. Once you’re done picking the colors, hit “Next”
- Then, you will be shown a full preview of your site with all the options that you have selected. If you’re happy with this, click “Save & Continue”, if not, you can click the “Back” button to go back and change the options.
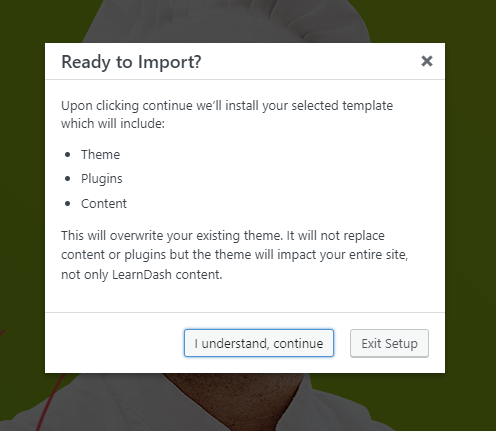
- Finally, you will see a confirmation screen asking you to confirm the changes and with a warning that mentions that these changes will impact your entire site.
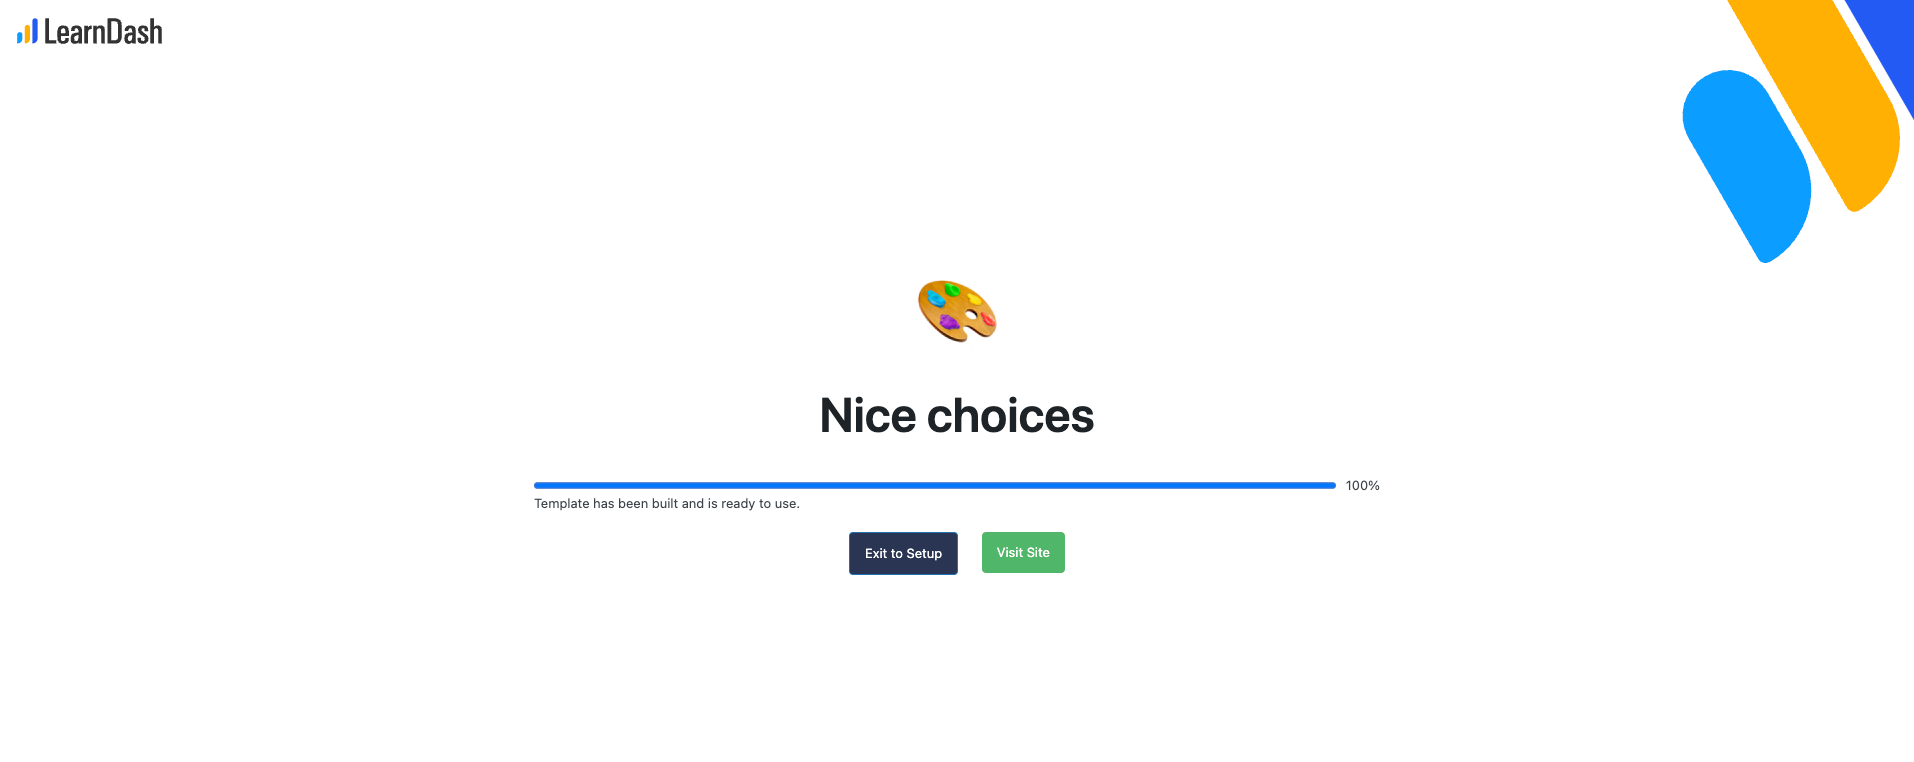
- On the next screen, the process of theming your site will begin. All the options that you have selected will be applied, the themes downloaded, the needed plugins installed, and all the demo data downloaded.
- Once that’s done, you will be given the option to exit the setup back to the dashboard, or to view your newly minted website.
Take note that these options can still be changed afterwards even after you finish with the design wizard. However, you can only run the wizard once.
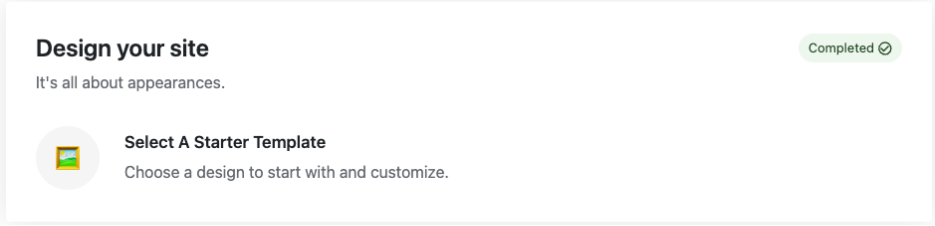
After you’ve run the wizard, you’ll see a “Completed” label next to it next time you visit the “Set Up” tab on your Dashboard.
Once you’re done and finished with the design wizard, you can now go to the pages that were created from the demo and edit them to fit your needs. All of the demo content, including the images were imported so you can simply change them as you see fit.